1.Product
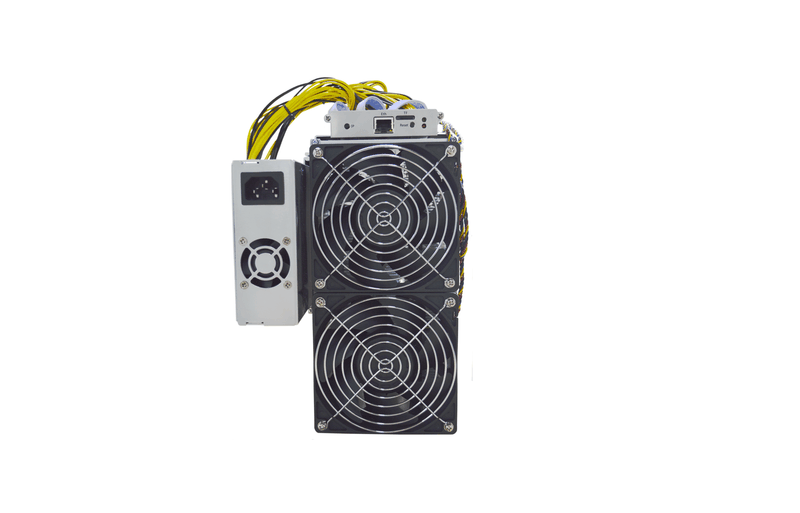
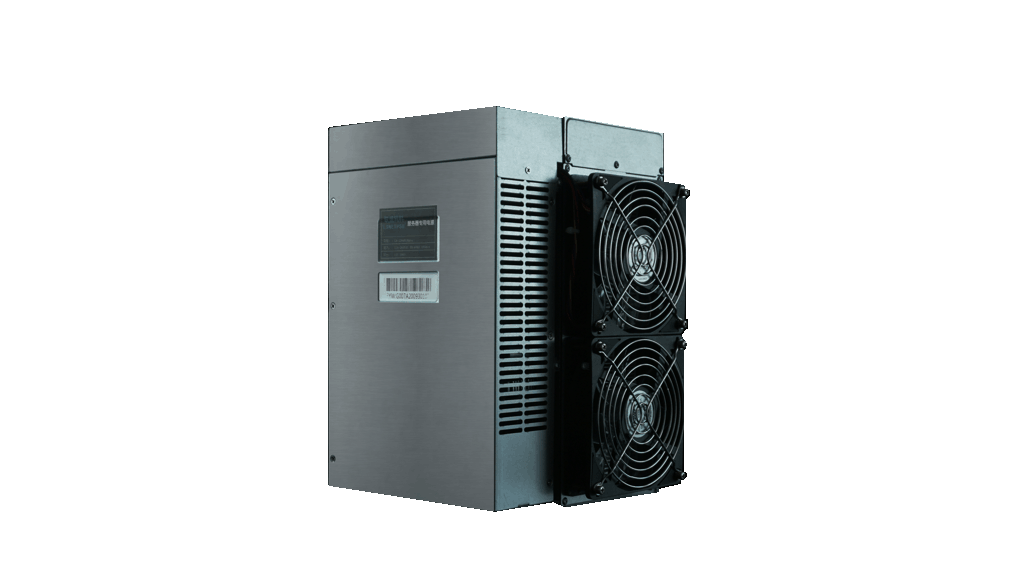
1.1 Appearance


1.2 Parameter
| Description | Specification/ Parameter |
| Name | HS3-SE |
| Encryption Algorithm/ Currency | Blake2b+sha3/HNS |
| Rated Computing Power (GH/s) | 930 |
| Maximum Power Consumption(Watt) | 930±5% |
| Total Weight(KG) | 7.3 |
| Machine Size (Length * Width * Height)/mm | 260(L) * 195(W) * 290(H) |
| Connection Method | RJ45 Ethernet |
2. Function
2.1 Start up
2.1.1. Check before start up
Conduct a preliminary inspection of the miner before operation:
- Check whether the appearance of the package is deformed.
- Check whether the appearance of the miner is deformed or damaged. Check fans and cables as well.
- Check whether the miner has abnormal noise, and observe whether the radiating fins are falling off
If you find the above situation, please take a photo first, and contact customer service.
Note: Do NOT disassemble the miner by yourself. The miner is affixed with anti-disassembly label. The miner will avoid the warranty while user disassemble without any permission.
2.1.2 Precautions
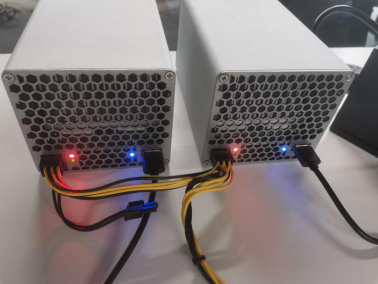
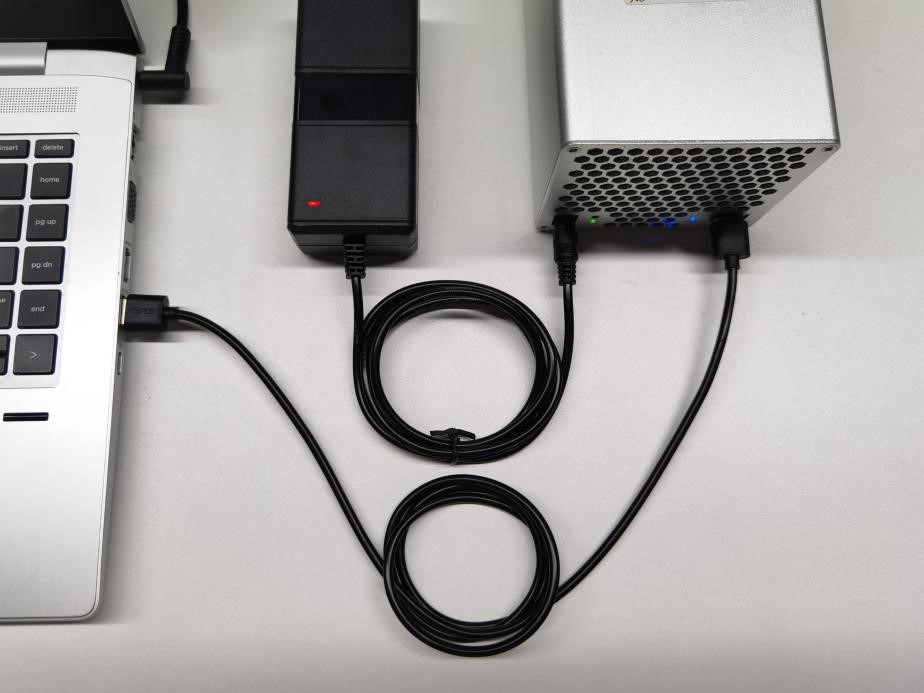
- The miner is connected to the router or switch by wires.
- Recommended ambient temperature between 10-30 Celsius
- Recommended ambient humidity below 65%
- Attention to dust and catkins, avoid corrode the hashrate board or affect heat dissipation.
- Google Chrome browser is recommended
Note: Plugging or unplugging the cables with power on is forbidden
2.1.3Boot
Please connect the miner to the LAN first, and then plug in the power cord to boot. During the boot process, the red and green lights flickered at the same time to start the self-checking. After that, the red light goes out and the green light is always on, then the miner starts successfully.
2.2 Access Miner
2.2.1 Obtain Miner IP
Method 1:Obtain the IP address of the miner through the batch processing tool provided by our company(Yotta BC1.4.9 Please, go to the official website to download. https://github.com/goldshellminer/YottaBC).
Method 2:Find the IP of the miner in the network router interface
2.2.2 Access Miner
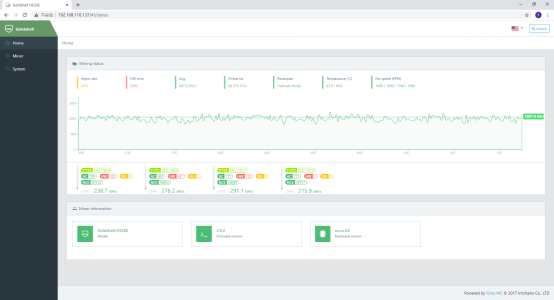
Open the Google chrome browser, use the miner IP, the following interface appears.

2.3 Language Switch
HS3-SE supports 6 languages. Click on the small flag icon at the top right of the page to switch languages.

2.4 Unlock Miner
Click the ‘unlock’ button in the upper right corner of the page and input the password to unlock. The factory password of the miner is ‘123456789’.

2.5 Change Password
To protect your property, please change the miner password after the first boot.
- Unlock your miner.
- Enter the ‘System’ page, input the corresponding old and new passwords as shown below, and click the ‘Change’ button.

2.6 Add and Remove Pool
2.6.1 Add
- Unlock your miner.
- Click on the “Miner” page, find the “Add” and click

- Enter the pool address and port number according to your choice, and set the miner name and password. The example pool in the figure below is the Dxpool.

- Wait for the pool to connect successfully, click on the Home page and observe the chart. If you find a hashrate curve, the pool configuration is successful.

2.6.2 Remove
- Unlock your miner.
- Select the pool to be removed in the ‘Pool Settings’ column on the ‘Miner’ page and click the ‘Remove’ button.

2.7 Network Settings
- HS3-SE factory default is DHCP mode, users can set the IP mode according to their needs.
- Unlock your miner.
- Enter the ‘System’ page, turn off the ‘DHCP IPv4 configuration’ option in the ‘Network Settings’ column, fill in the IP information according to the user’s situation, and then click the ‘Apply’ button.

2.8 Firmware Upgrade
- Unlock your miner.
- Enter the “System” page, select the upgrade firmware path according to the prompts in the figure below, click the “Update” button, and the miner will start the firmware upgrade.

After the upgrade is completed, pool and network settings will remain.
Warning:Please obtain the correct firmware from official sources. The firmware upgrade will last for 5 minutes. During this period, ensure the network is connected and do not power off.
2.9 Factory Reset
- Unlock your miner.
- Go to the “System” page, find the “Factory reset” column, and click the “Reset to default” button.

Warning:All configuration information will be lost after the miner is restored to factory settings
2.10 Shut Down/Restart
2.10.1 Shut Down
HS3-SE shuts down by unplugging the power cord.
2.10.2 Restart
Go to the “System” page, find the “Restart Miner” column, and click the “Restart” button.

3 Common Malfunctions and Treatment
3.1 Common Malfunctions
The red and green status indicators of the mining machine can indicate the abnormal state of the main mining machine
| Red Light | Green Light | Status |
| Flash Slow | Lights off | Network abnormal |
| Flash quickly | Lights off | Fan speed is abnormal |
| Always on | Lights off | Miner temperature is too high |
| Always on | Flash quickly | Some computing boards failed to start |
| Lights off | Always on | The miner is idle |
| Lights off | Flash quickly | Normal working condition |
| Flash quickly | Flash quickly | User-enabled lighting effect |
When the miner software detects an abnormal state, the miner background page and indicator will indicate the current abnormal state at the same time.
3.2 Malfunction Elimination
3.2.1 Power Supply
Situation 1
When the miner is powered on, the fan does not rotate and the network port light does not turn on.
Tips:
- Check whether the power connector is loose or falling off, and whether the power cord is inserted firmly.
- Check whether the fan rotates, if not, the power supply needs to be replaced.
- Use the multimeter to check whether the power supply is 11-13V output.
3.2.2 Network
Situation 1
The new miner cannot obtain an IP address
Tips:
- Check whether the Ethernet interface is plugged in and whether the Ethernet status light is on.
- Ensure that the IP address of the miner and the PC are in the same network.
- Make sure that the miner network setting DHCP is turned on. If you do not confirm, press and hold the ‘Reset’ button for 7 seconds to restore the factory settings.
3.2.3 Fan
Situation 1
The fan does not rotate after power on.
Tips:
- Check whether the fan cable is inserted firmly.
- Change the fan interface crosswise to check whether it is a fan problem or a control board interface problem.
Situation 2
The fan starts after power on, but the miner software reports that the fan is abnormal.
Tips:
- Fan speed is insufficient in some gears
3.2.4 High Temperature Protection
Situation 1
The miner is closed due to high temperature protection
Tips:
- Check whether the ambient temperature is too high. (above 35℃)
- Check whether the air inlet and outlet of the fan are blocked (for example, the air inlet and outlet are facing the wall, and there are too many attachments such as dust and catkins).
- Restart at least 10 minutes after the high temperature protection, and observe whether the temperature of the miner is stable after running.
3.2.5 Low Computing Power
Situation 1
The background software prompts “Unable to start the computing board”, the computing power is 0.
Tips:
- Restart the miner to see if it can be restored.
- Change the power cord of the board to eliminate the problem caused by the power supply.
- Cross-exchange data cables with normal hashrate boards to eliminate cable problems.
Situation 2
The local average computing power is normal, but the pool computing power is low.
Tips:
- Check whether the network has high latency.
- Replacing the pool comparison test, there are currently some pools that cannot adapt to the appropriate difficulty, resulting in low computing power.