![](https://gstest1.btb123.com/wp-content/uploads/2020/11/image-5.png)
一、IP Collection function
![](https://www.goldshell.com/wp-content/uploads/2020/11/1-1024x744.png)
Open the software
![](https://www.goldshell.com/wp-content/uploads/2020/11/2-1-1024x959.png)
Click “IP” Button
![](https://www.goldshell.com/wp-content/uploads/2020/11/3-1024x744.png)
Select IP
![](https://www.goldshell.com/wp-content/uploads/2020/11/4-1-1024x744.png)
Click Set Pool in the function bar of the miner, enter the pool information and click OK
![](https://www.goldshell.com/wp-content/uploads/2020/11/5-2-1024x744.png)
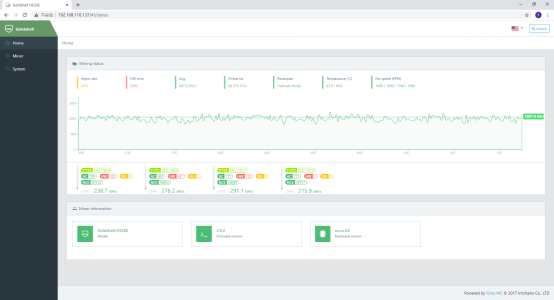
Click the rightmost icon in the software function bar to enter the miner backstage
![](https://www.goldshell.com/wp-content/uploads/2020/11/6-1024x555.png)
Waiting for the miner to generate hashrate
二、IP Scope Function
![](https://www.goldshell.com/wp-content/uploads/2020/11/7-1024x744.png)
Open the software
![](https://www.goldshell.com/wp-content/uploads/2020/11/8-1024x744.png)
Click the plus icon to create a new group
![](https://www.goldshell.com/wp-content/uploads/2020/11/9-1024x744.png)
Click IP range and enter the starting IP information and range 255 in the right information column
![](https://www.goldshell.com/wp-content/uploads/2020/11/10-1-1024x744.png)
Completed the creation, click the first function bar icon to scan the device
![](https://www.goldshell.com/wp-content/uploads/2020/11/11-1024x744.png)
Select the device
![](https://www.goldshell.com/wp-content/uploads/2020/11/12-1024x744.png)
Click to set the pool and input the information
![](https://www.goldshell.com/wp-content/uploads/2020/11/13-1-1024x744.png)
To set up multiple machines at the same time, press and hold the keyboard Ctrl + left mouse button to select